Whether it’s a casual backyard game or an organized league match, the unique dynamics of the wiffle ball can make for an unpredictable and exciting gameplay. The secret to mastering the game lays not only in sheer physical strength but also in understanding the fascinating science of aerodynamics that governs the erratic movement of the wiffle ball. From the peculiar perforations to its lightweight structure, every aspect of the wiffle ball’s design is instrumental in the astounding curves it achieves during a game. This understanding, coupled with the right grip and throw techniques, can help anyone become a formidable wiffle ball player. In this discourse, we delve into the dynamic world of wiffle ball aerodynamics and impart essential techniques to perfect the grip and throw.
Understanding the Wiffle Ball Aerodynamics
Understanding the Aerodynamics of a Wiffle ball
The unique design of a Wiffle ball contributes to its unique flight path and surprising curve balls. This unusual motion is largely due to aerodynamic properties that the wiffle ball possesses. Aerodynamics is a branch of physics that focuses on how air (or any gas) interacts with moving objects. In the case of the wiffle ball, the aerodynamics concerns the movement of air around the ball and how it affects its flight.
Design of the Wiffle Ball
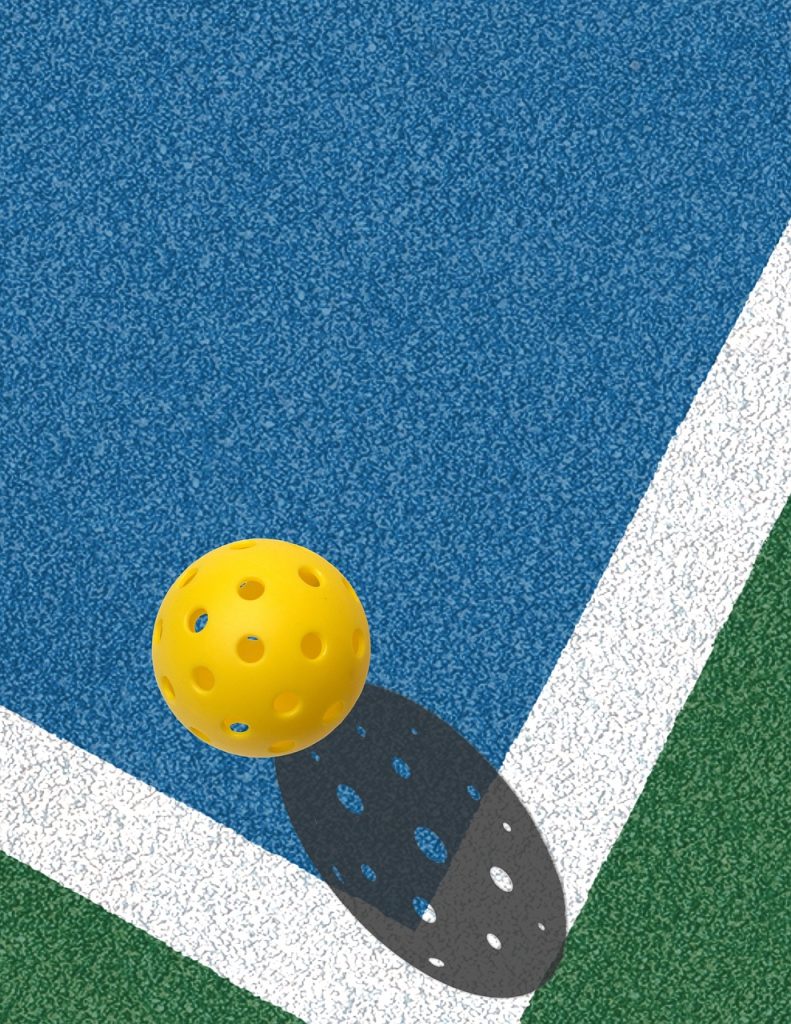
Wiffle balls are lightweight, hollow, round plastic objects with cut-out holes only on one half. Unlike traditional balls, Wiffle balls are not symmetrical on the inside. The uneven distribution of holes gives them a unique flight pattern when thrown in a certain way. The holes allow the air to flow through them, which can drastically affect the trajectory of the ball. The correct way to throw a Wiffle ball is to grip it with the holes facing downward.
How Air Movement Affects The Ball’s Path
The primary factor in the Wiffle ball’s curving motion lies in its aerodynamics. When a Wiffle ball is thrown, it forces the air in front of the ball to speed up and pass through the holes, which increases the air pressure on that side of the ball. At the same time, the air on the opposite side of the ball — where there are no holes — slows down, resulting in a lower pressure area. This difference in air pressure causes the ball to swerve or curve in the direction of the lower pressure, which results in the erratic, unpredictable curves.
Increasing Curvature of the Wiffle Ball
This curvature can be increased by applying more speed or spin to the ball when thrown. By throwing the Wiffle ball faster, air pressure can be further manipulated, causing a steeper curve. Similarly, adding spin to the ball can change the direction and velocity of the air flowing over and through the ball, leading to a more dramatic curve.
Use these understandings of the aerodynamics behind the Wiffle ball to master its unpredictable curves. With this knowledge, you can make the ball curve to your advantage, adding a tricky element to any Wiffle ball game.

Perfecting the Grip and Throw
Technique 1: Perfecting the Grip
The first step to throwing a perfect curve wiffle ball is getting a good grip. Hold the wiffle ball in your dominant hand. The ball should sit in the lower part of your middle, ring, and pinky fingers, leaving your index and thumb free to control the ball’s spin. To create a natural, comfortable grip, your thumb should rest against the ball, flat and stable against one of the ball’s slits.
The placement of your index finger depends on what kind of curve you want to throw. If your aim is to create a slider or fastball, position your finger close to the ball’s top hole. If you want to create a sinker or riser, your finger should rest next to the thumb, opposing it. The most common grip, however, is placing your finger on a hole, which gives the ball a significant amount of spin.
Technique 2: Twisting the Wrist
The wrist’s role in a curve wiffle ball throw is crucial. When throwing the ball, twist your wrist right when you’re about to release it. Depending on your grip, the twist will either be inwards or outwards. When throwing a slider or fastball, you will twist your wrist inwards, towards your body’s center. If you’re going for a riser or sinker, your wrist will twist outwards, away from your body. The sudden jerk of your wrist can give the ball sufficient spin it requires to curve.
Technique 3: Control the Release Point
To consistently deliver a good curve, you must understand that controlling the release point during a throw is vital. The point of release corresponds with the direction in which you want the ball to curve. If you release at a slightly upward angle, the curve will be upwards too, creating a riser. For a sinker, release the ball at a slight downward angle. Start by trying to throw straight and slow, and as you get more comfortable controlling the release point, you can start adding speed and twists.
Remember, learning how to throw a curve wiffle ball takes time and patience. Practicing these steps regularly will help you get the hang of it. It’s all about grip, wrist action, and control over the release point.

Grasping the science of a wiffle ball’s aerodynamics and its impact on the ball’s path can enrich your game drastically. This intricacy of design that leads to its unpredictable curveball becomes less intimidating as you begin to understand the physics governing it. Similarly, mastering the perfect grip and throw doesn’t remain an elusive skill once you understand the steps and practice diligently. From adjusting your fingers strategically to controlling the release point, every minute adjustment is an opportunity to shape the trajectory of your throw. By combining theoretical knowledge with practical implementation, it’s possible to truly transform your wiffle ball game and elevate it to a whole new level.

I am Michael Wanner, an experienced and educated expert in the field of pickleball. I hold a degree in Sports Science from Cleveland State University, Ohio, USA. My expertise lies in the technical aspects of pickleball and how to play it effectively. I have spent many years playing and coaching pickleball and have a wealth of knowledge to share with my readers. I am a valuable resource for anyone looking to improve their pickleball skills and strategies.
