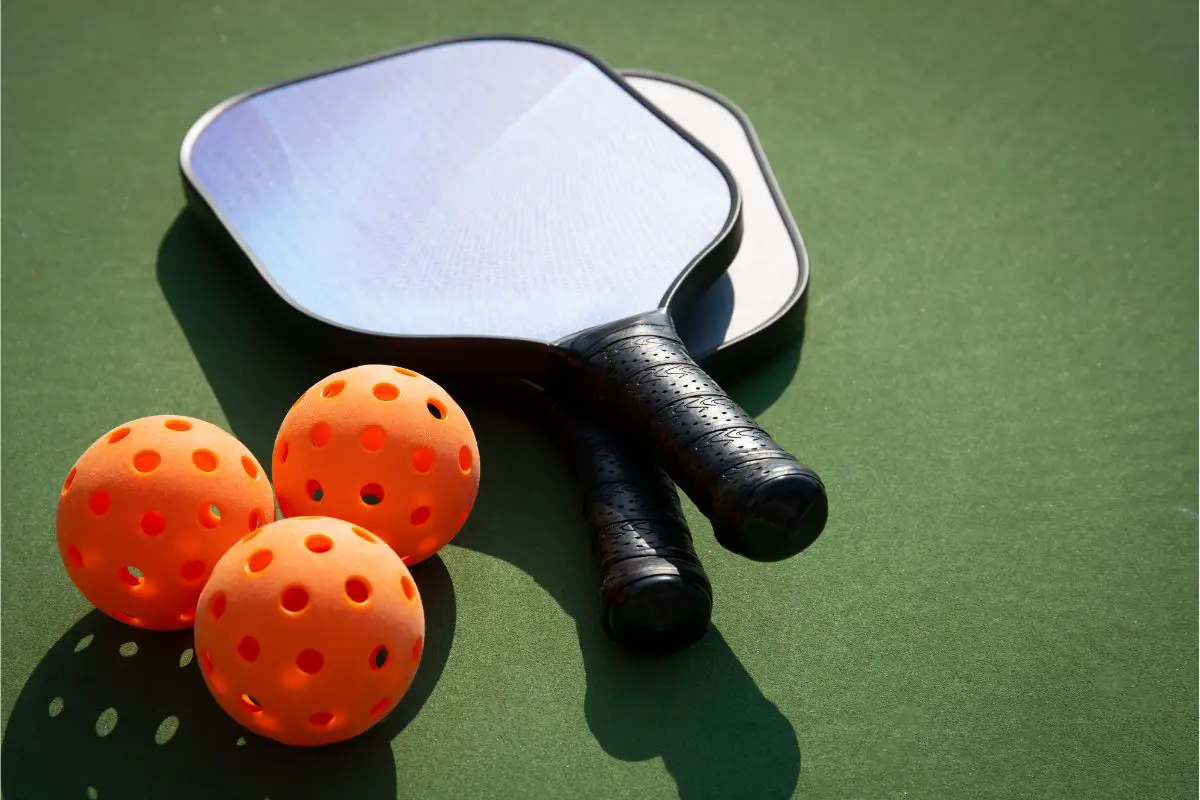
Besides the ball, a paddle is the most important piece of equipment you need in pickleball.
While there is a large choice of pickleball paddles you can buy, it is much more fun to make your own customized paddle.
In this step-by-step guide, we’ll show you how to make a pickleball paddle that doesn’t just look great but plays nicely.
Can I Make My Own Pickleball Paddle?
Yes, it is possible to make your own pickleball paddle with a few basic tools and some DIY skills. It’s surprisingly quick and easy to create your own paddle from scratch.
This being said, homemade pickleball paddles are not allowed in USA Pickleball tournaments, so they are only suitable for beginners and hobby pickleball players.
How To Make Your Own Pickleball Paddle
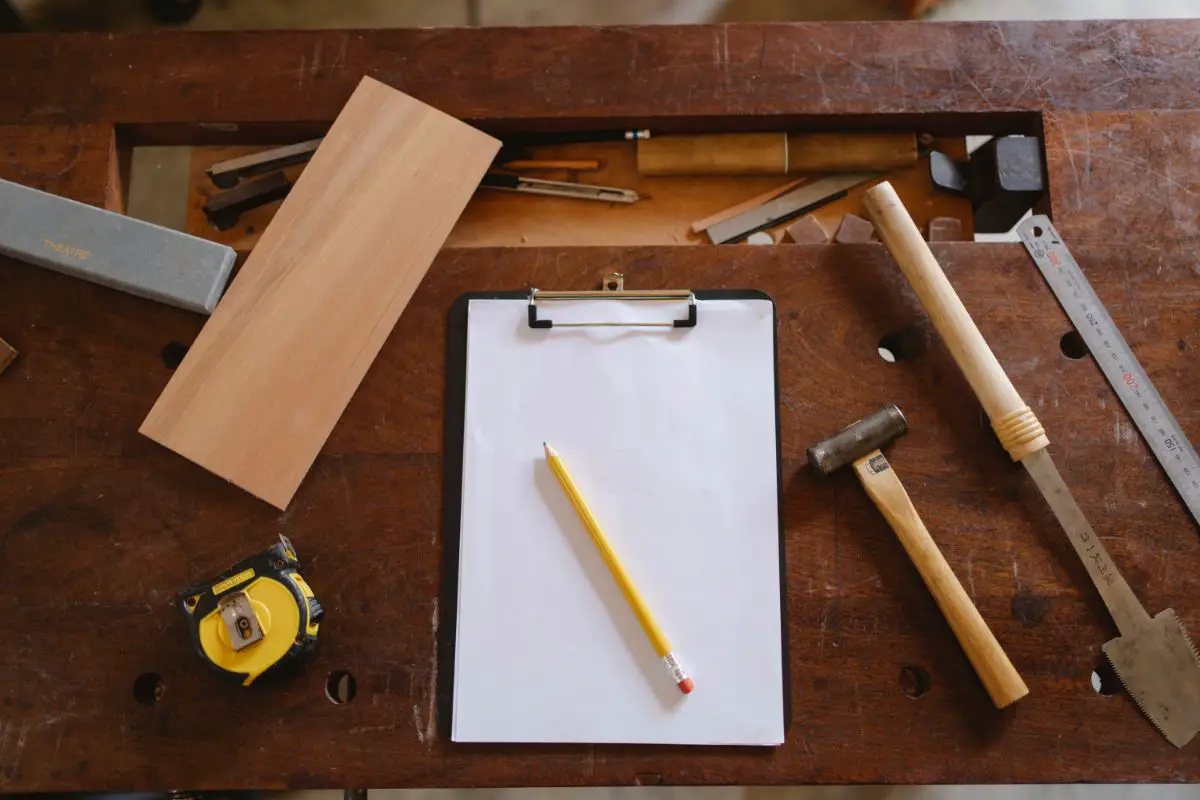
Making a pickleball paddle yourself only requires a few simple steps, so let’s get started.
1. Choose Your Material
Before you start with your pickleball paddle, you need to find the right materials for the paddle.
Wood is usually the best option because it is relatively light and cheap. Plus, it’s easy to work with, even for DIYers who don’t have much experience.
This being said, if you have the right tools, then you can also make a pickleball paddle with aluminum.
If you prefer wood as your paddle’s core material, then plywood is the best option because it’s durable and lightweight.
Ideally, you want to stick to the paddle guidelines provided by the International Federation of Pickleball (IFP) and they state that the material should be non-compressible and rigid.
2. Pick Your Paddle Template
Once you have some wood for your paddle, you will need to choose a template. You can either design your own template or just print out a design that you find on the internet.
It’s worth keeping in mind the official dimensions for a pickleball paddle which are a width of 8” and a length of 15 3/4″. The overall dimensions of the paddle shouldn’t exceed 24”.
The standard thickness of a pickleball paddle is 38”.
Make sure to consider these dimensions with your design as any variations could impact the playing abilities of your paddle.
3. Transfer The Template Onto The Wood
Now that you have a pickleball paddle template, you need to transfer this onto the wood. You can print the design on a piece of paper, cut the paddle out and glue it onto the wood.
Just ensure that the glue is basic wood glue, so you can easily remove the template later. Alternatively, you can also just trace the outline of your paddle on the wood.
4. Cut The Paddle
Once you have your template traced onto the wood, you are ready to cut it out. You can use any tool you like for this.
If you use plywood, then you can cut it with a table saw, a jigsaw or a handheld saw but make sure that you cut it out accurately to avoid too much sanding.
5. Sand The Paddle Surface
Once you have your main paddle surface, you need to sand the edges and the top to a smooth finish. The sanding can also help to remove the traced template line.
It’s essential to have a smooth surface as it allows you to hit the ball with greater precision. Plus, the paddle looks more professional.
For the sanding, you can use a sander or just some sandpaper with a sanding block.
6. Create Your Paddle Handle
After you finished the main playing area of your pickleball paddle, you need to make the handle.
As the paddle handle needs to be thicker than the paddle, you need a thicker piece of wood. Alternatively, you can also use a hockey stick or an old table tennis handle.
Cut the handle to the size you need, including a gap at the top of the handle so you can slot in your paddle.
Add some glue into the slot and then firmly squeeze your handle and paddle together, so they don’t come apart.
If you don’t have wood glue, then you can also use duct tape, hockey tape or tennis tape to keep your paddle in place.
Tape is also ideal to wrap around the handle to finish the grip. Make sure that your handle material has some grip, so it doesn’t slip out of your hand.
7. Add A Wrist Strap (Optional)
This step is optional but you can also add a wrist strap to your custom pickleball paddle. Simply add a little screw hook at the end of the handle and wrap a string around the hook.
A wrist strap is great for holding your paddle while you are not playing. You can also use it to hang it up somewhere.
8. Decorate Your Paddle
Now that the main construction of your pickleball paddle is finished, you can decorate the paddle.
The IPF rule book says that your paddle surface shouldn’t have a rough texture, indentations or holes.
You should also avoid reflective surfaces or tape on your paddle that could give a player an advantage over his teammates.
While you can’t play official matches with your homemade paddle, it’s still a good idea to stick to these rules as much as possible to make the game fair for everyone.
This being said, as long as you regard the paddle rules, you can decorate your new pickleball gear any way you like, including stickers and paint.
9. Test Your Paddles
Now that you have a working pickleball paddling, it’s time to get out onto the court and test it.
Keep in mind that homemade pickleball paddles don’t meet tournament regulations, so you won’t be able to join a professional pickleball match.
This being said, you can use your own paddle anywhere outside of a tournament setting, including a friendly match with friends and family.
Final Thoughts
Making your own pickleball paddle is great fun and a fantastic DIY project. Plus, you can design a paddle that’s fully customized to your preferences and playing needs.

I am Michael Wanner, an experienced and educated expert in the field of pickleball. I hold a degree in Sports Science from Cleveland State University, Ohio, USA. My expertise lies in the technical aspects of pickleball and how to play it effectively. I have spent many years playing and coaching pickleball and have a wealth of knowledge to share with my readers. I am a valuable resource for anyone looking to improve their pickleball skills and strategies.